


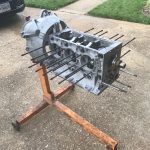
I acquired the original engine for the John Glenn Corvair with the purchase of the car back in 2001, but the engine was not installed in the car and it was not running. It sat on a cart in my garage for the past 17 years until I finally got serious about restoring the car this past year. In April of this year (2018), while the body was away getting metal work and paint, I finally had room in my garage to restore the engine.
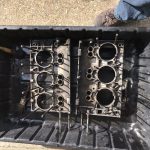
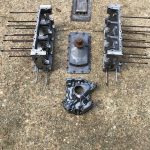
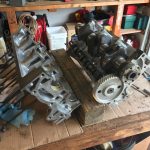
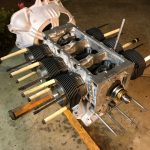
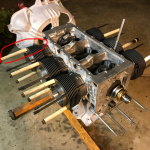
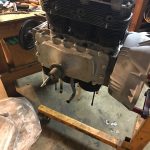
First job – pull the engine out of storage, tear it down and clean the parts.
-
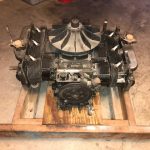
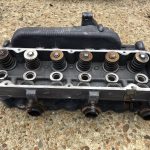
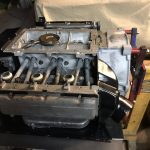
- Glenn Engine before restoration
-
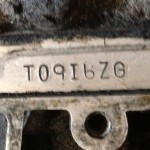
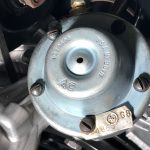
- Engine Number
-
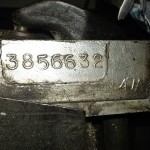
- Cylinder Head – 110HP
-
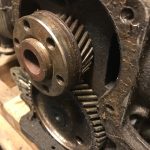
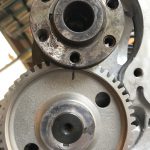
- Timing Gears Before
-
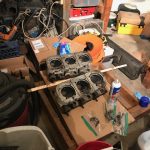
- Cleaning the Engine Block
-
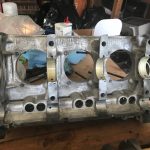
- Engine Block Cleaned
-
- Cylinder Heads on bench
-
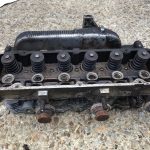
- Cylinder Head Before
-
- Head after cleaning
Once this messy task was completed, I sent the heads and crankshaft to the machine shop where they were reworked. The crank was magnafluxed , journals ground to +20, the cylinder heads fitted with new valves, valve guides and springs, and I also resurfaced the head gasket area.
In the meantime, I collected the shrouding that had come with the car (mainly the top shroud, A/C shrouding and a few other pieces), procured any missing pieces, then sent them all out to be blasted and refinished. There are a LOT of pieces!!
When the crankshaft was finished, I ordered all the new parts I would need from Clark’s. I opted to replace the pistons, cylinders, cam, cam gear, lifters, harmonic balancer, and all consumables (bearings, gaskets, etc.). I decided to use new full-finned cylinders with forged pistons to improve cooling and durability, recognizing that A/C puts an additional heat load on the engine. Going with new cylinders also allowed me to stay with stock bore so I did not increase the compression ratio. As an additional measure, I used copper base and cylinder head gaskets (Factory A/C engines normally used copper base gaskets for the same reason).
By early August I finally had all the pieces back and was ready to start assembling the engine.
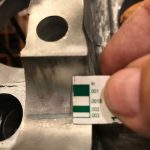
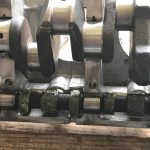
I began by inserting the main bearing shells, then checking clearance on the mains. At the same time, I inserted the new cam and checked the clearance there as well. You can’t really do anything to fix cam journal clearances, but I was fortunate that they all checked out OK.
-
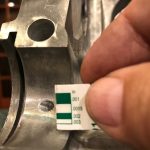
- Cam Journal Check
-
- Cam Journal
-
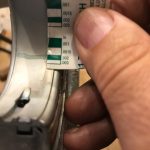
- Main Bearing
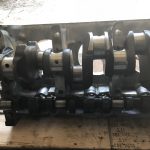
Next step was to assemble the short block I ran into an initial snag when the #2 bearing shell slipped out while I was assembling things and I got a little impatient and tried to force the case together. I ended up damaging the bearing and had to delay while I ordered a replacement. However, after a few days I was back on track and the short block then went together without incident.
-
- Case Assembly
-
- Setting Timing Gears
-
- Slipped Bearing Shell
-
- 2nd Try
-
- Other side
-
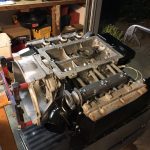
- Short Block
With the short block completed, I moved on to building the long block (adding pistons and cylinders). This went off without a hitch. One day I installed the rings and then inserted pistons into the cylinders, next day I installed the completed assemblies onto the short block, adding new rod bearings.
-
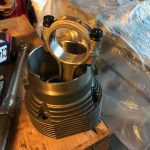
- New Cylinder Unit
-
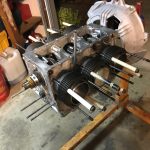
- Long Block
-
- Long Block – other side
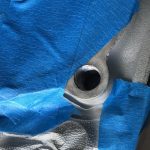
Moving on to cylinder heads a few days later, I ran into another issue when I pulled a stud – naturally it was the last one to be torqued down – the upper rear stud on cylinder # 6. Oh well…
I had to remove the cylinder head and also cylinder unit #6 to gain access to the repair the hole. I used two 1/2″ helicoils and made sure to keep shavings out of the engine!
-
- Pulled stud Circled
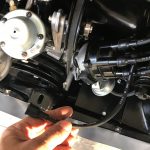
-
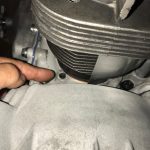
- Pointing out the problem
-
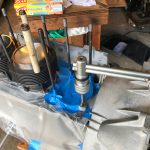
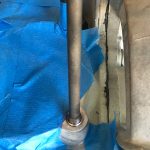
- Tapping the hole
-

- Suctioning the hole
-
- Re-tapped hole
-
- Repaired and Reinstalled
With this repaired and cylinder #6 reinstalled, I ran into no further issues and was able to complete the basic engine assembly by the end of the day. There were a few suspenseful moments as I was torqueing down the other head, but the studs all held their torque.
-
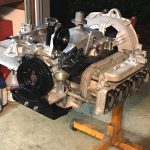
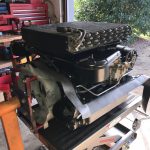
- Base Engine Assembly
-
- Base Engine Assembly
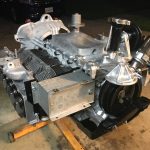
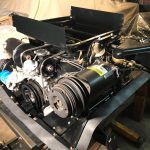
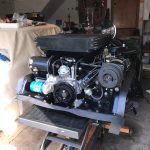
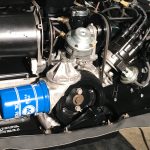
After setting the valves (cold), I moved onto shrouding the engine. Although the shrouds were all refinished, I haven’t yet refinished the valve covers, oil pain, or most of the accessories that mount to the engine, but I went ahead and installed everything for the moment because I wanted to check fit and to determine if I was missing any parts. This was probably one of the more frustrating parts of the build, as I had not started with a complete engine, so I spent a lot of time running around scrounging up parts, some from my stash, others from club members in the local area, but at least I now know what I have and what remaining parts I need to obtain or restore. Factory A/C adds a lot of extra parts to the assembly, and also makes working on the engine much more difficult.
-
- Installing Head
-
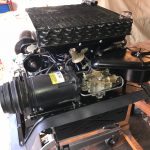
- Exhaust Manifold
-
- Exhaust Manifold
-
- A6 Compressor
-

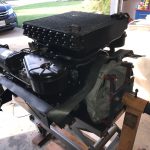
- Condenser Shroud and blower
-
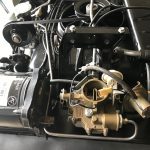
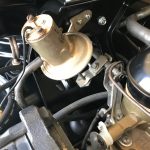
- Fuel Pump
-
- Left Rear Corner
-
- Left side
-
- Left front corner
-
- Engine Rear
-
- Engine Right Side
-
- Right front Corner
-
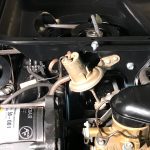
- Right Gasoline pipe
-
- Oil Filter
-
- Throttle shaft clamp
-
- Fast Idle solenoid
-
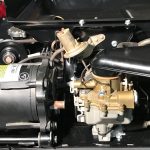
- Right Carburetor
-
- Coil Wire
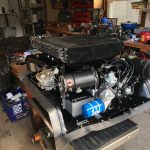
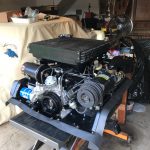
At this point I have an essentially fully assembled engine – just missing a few pieces – compressor belt, condenser foam seal, decals, etc. However, I will be pulling a number of accessory items off for restoration (generator, compressor, condenser, carburetors, some hardware, etc.). This will likely take some time as I need to turn my attention to some other projects first (transmission and rear axle), but once I get the engine fully assembled I will post some final photos.
Hi Bill,
The engine looks great ! I appreciate your detailed approach, very inspiring. I’m always amazed to see a 110 with AC condenser on top.
Eric.